Sending an SMS to a contact list
Sending to a contact list lets you message an entire group in one step — for example, all your clients, a class of students, or a list of appointment reminders. Mobile Message automatically skips anyone who has unsubscribed, so you don't need to manage that manually.
If you haven't set up a contact list yet, see Using contact lists first.
Selecting your list
- Go to the Send Messages page
- In the To field, click Lists

- Select the list you want to send to by ticking the checkbox, then click Add Selected
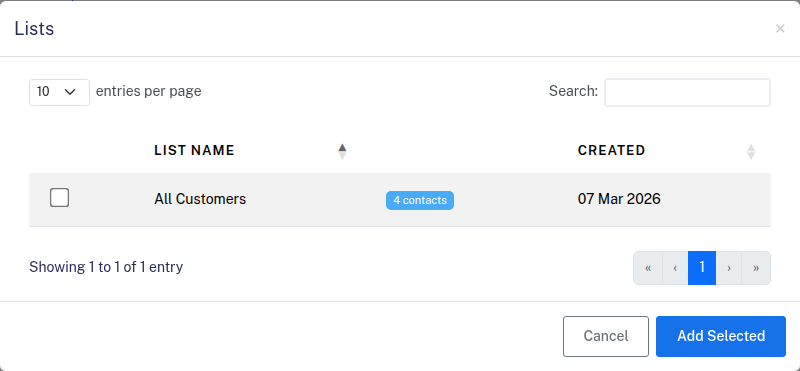
The Recipients count will update to show how many contacts will receive the message. You can add multiple lists or combine lists with individual contacts.
Choosing a sender
Select a sender from the From dropdown. For more on sender options, see Choosing a sender — what are the options?.
Writing your message
Type your message in the Message field. If your contacts have names or other details stored, you can personalise each message using tags like First Name — see Sending SMS messages with customer names for details.
For marketing messages, click Insert Opt Out Message to add an opt-out option.
Unsubscribes are filtered automatically
Before sending, Mobile Message checks your unsubscribe list and automatically removes any opted-out numbers from the send. You don't need to do anything — these contacts are silently skipped and are not charged a credit.
Scheduling (optional)
To send at a later time, select Later under Time and choose a date and time. See Scheduling an SMS message for more details.
Sending
Review the credit estimate at the bottom of the page, then click Send Messages. After sending, check the History page to see delivery results for each recipient.